| Note: This tutorial assumes that you have completed the previous tutorials: Creating a New Behavior. |
| |
Using the Statemachine Editor
Description: Teaches the most important basic steps to define the control flow implementation of a behavior based on the graphical editor.Tutorial Level: BEGINNER
Next Tutorial: Execution of a Behavior
Start implementing the behavior by adding its first state. As written in the first tutorial, we want our behavior to wait for some time and then print a message. So our first state will be a state which waits a given amount of seconds.
Click Add State at the top, enter a name for the new state and select WaitState from the list below. Entering something like "wait" in the class filter will help to quickly find the state and would also help if we didn't know the exact name and just need any state for waiting.
Note that the FlexBE App knows about the states from the export statements of the respective ROS packages that are sourced. In case the list is empty, close the app, open a new terminal, make sure that you sourced your workspace (e.g., verify that roscd flexbe_states works) and run the app in this terminal.
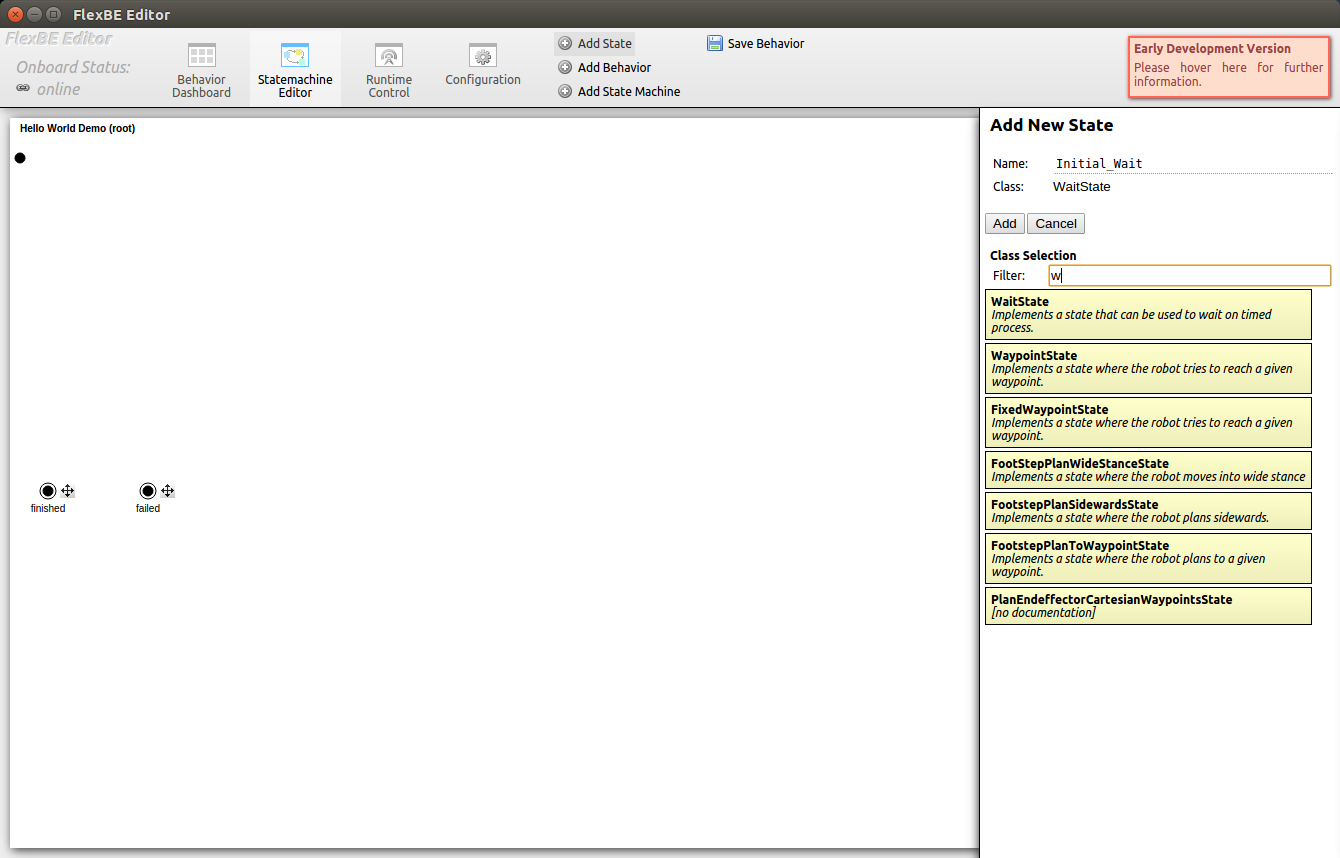
Now click Add to add the new state to the behavior state machine.
The properties of the newly added state will pop up. This panel can also be displayed by clicking on the state. Since we already defined a parameter for the waiting time, we can use it now. References to parameters always start with a self. in front of the parameter name. This helps to distinguish between parameters and constants. However, you can just start typing waiting_time and let autocompletion do the rest.
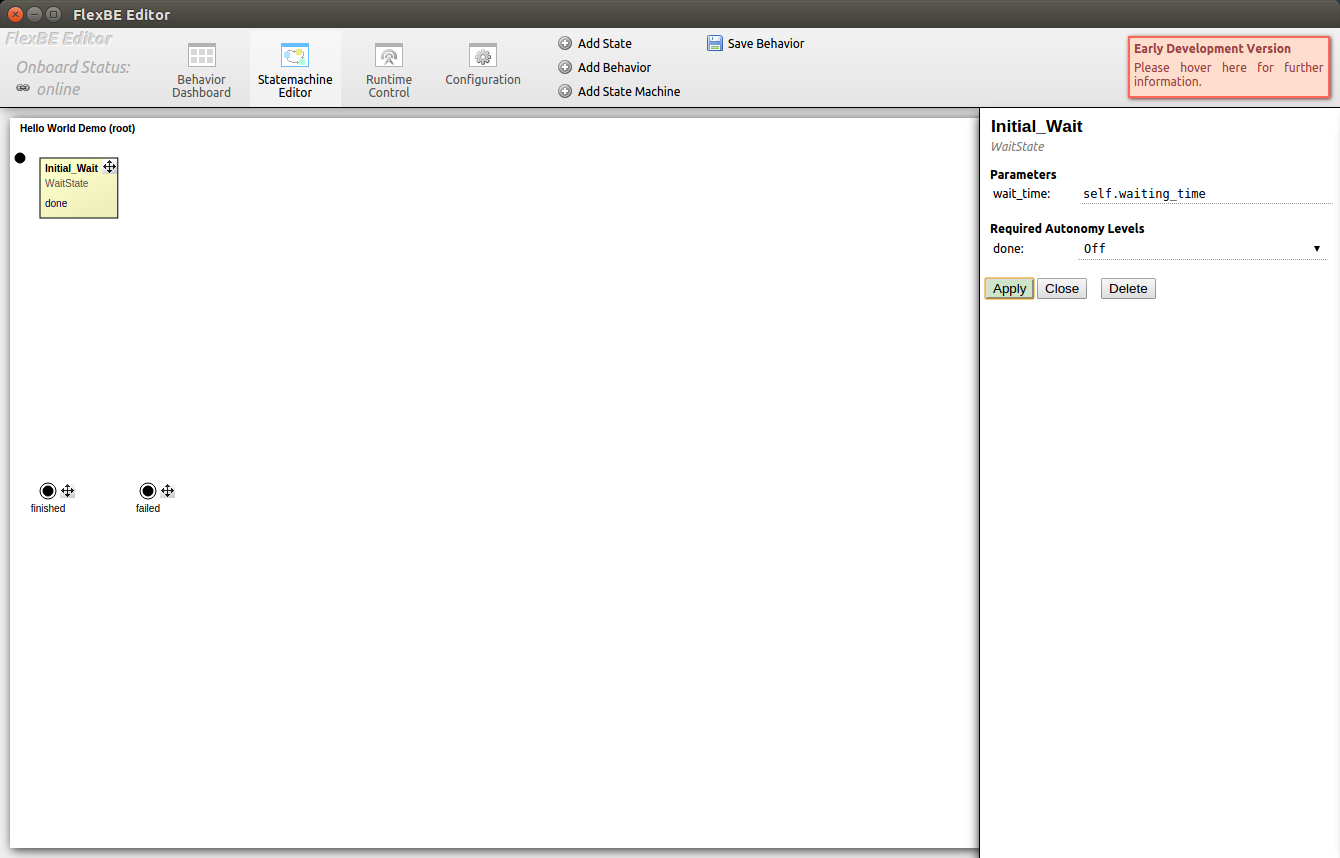
Click Apply to make this change permanent.
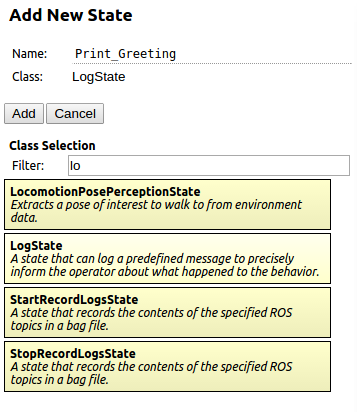
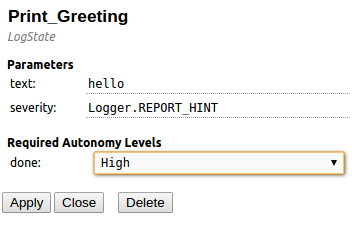
Next, we add our second state the same way. This time, it's a LogState as shown below because now we want to print our message.
This state has two parameters which we can now edit in the properties panel.
The first one is the text to be printed. As we did for the waiting state, we won't enter an explicit value, but instead refer to one of our already defined values. So, just enter the name of our message string, hello, as value of the text parameter. As soon as you click Apply, you will also see its value as tooltip when hovering over the text field. Note that entering an explicit value (string in this case) would require quotes in contrast to referencing a variable, just like you entered in the value field of the hello variable.
The second parameter defines the type of the message such as error or warning. The default value should be fine this time. Normally, behavior hints are used to give explicit instructions or reminders to the operator when he is expected to do something.
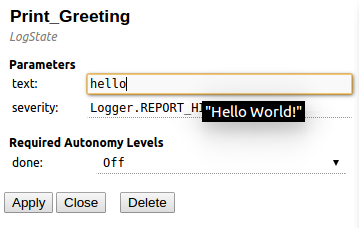
This time, we will also change the required level of autonomy of this state's outcome. Select High and apply the change. The meaning of this Autonomy Level is explained in the next tutorial.
Now connect the added states.
Start with setting the initial state by clicking on the black bullet next to the waiting state first, and then clicking on the waiting state to connect it to the bullet. You may also change the position of the states by dragging them at their top right corner (indicated by a move icon).
The unconnected outcomes of each state are listed at the bottom of each state's visualization. First, click on the outcome you want to connect and then click on the target. The two bullets at the bottom of the state machine are the outcomes of the state machine itself. You can ignore the outcome failed for now.
Your state machine should now look similar to the one shown below.
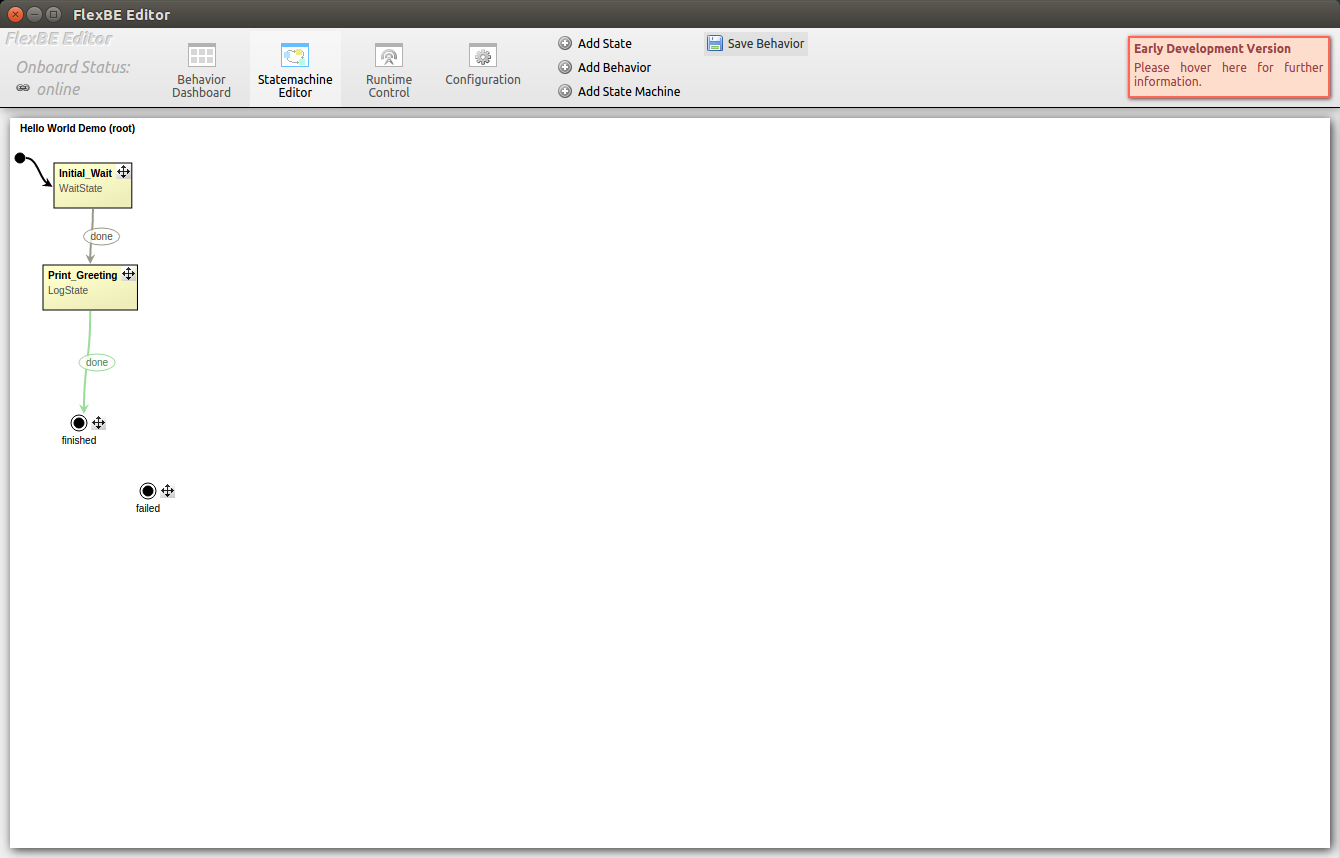
The green color of the second transition refers to its required autonomy level.
Now save the behavior. This will generate all files required for executing the new behavior. After saving, you can close the FlexBE App.
That's it! You are ready for your first execution of a behavior.


